How To Enable SSH On The Steam Deck
This guide explains how to enable and use SSH on your Steam Deck for remote access to your files. The Steam Deck's desktop mode offers more than just gaming, and remote file access is a valuable feature.
Enabling SSH on Your Steam Deck
 Follow these steps to enable SSH:
- Power on your Steam Deck.
- Access the Steam menu, then navigate to
Settings > System > System Settings > Enable Developer Mode. - Return to the Steam menu and select
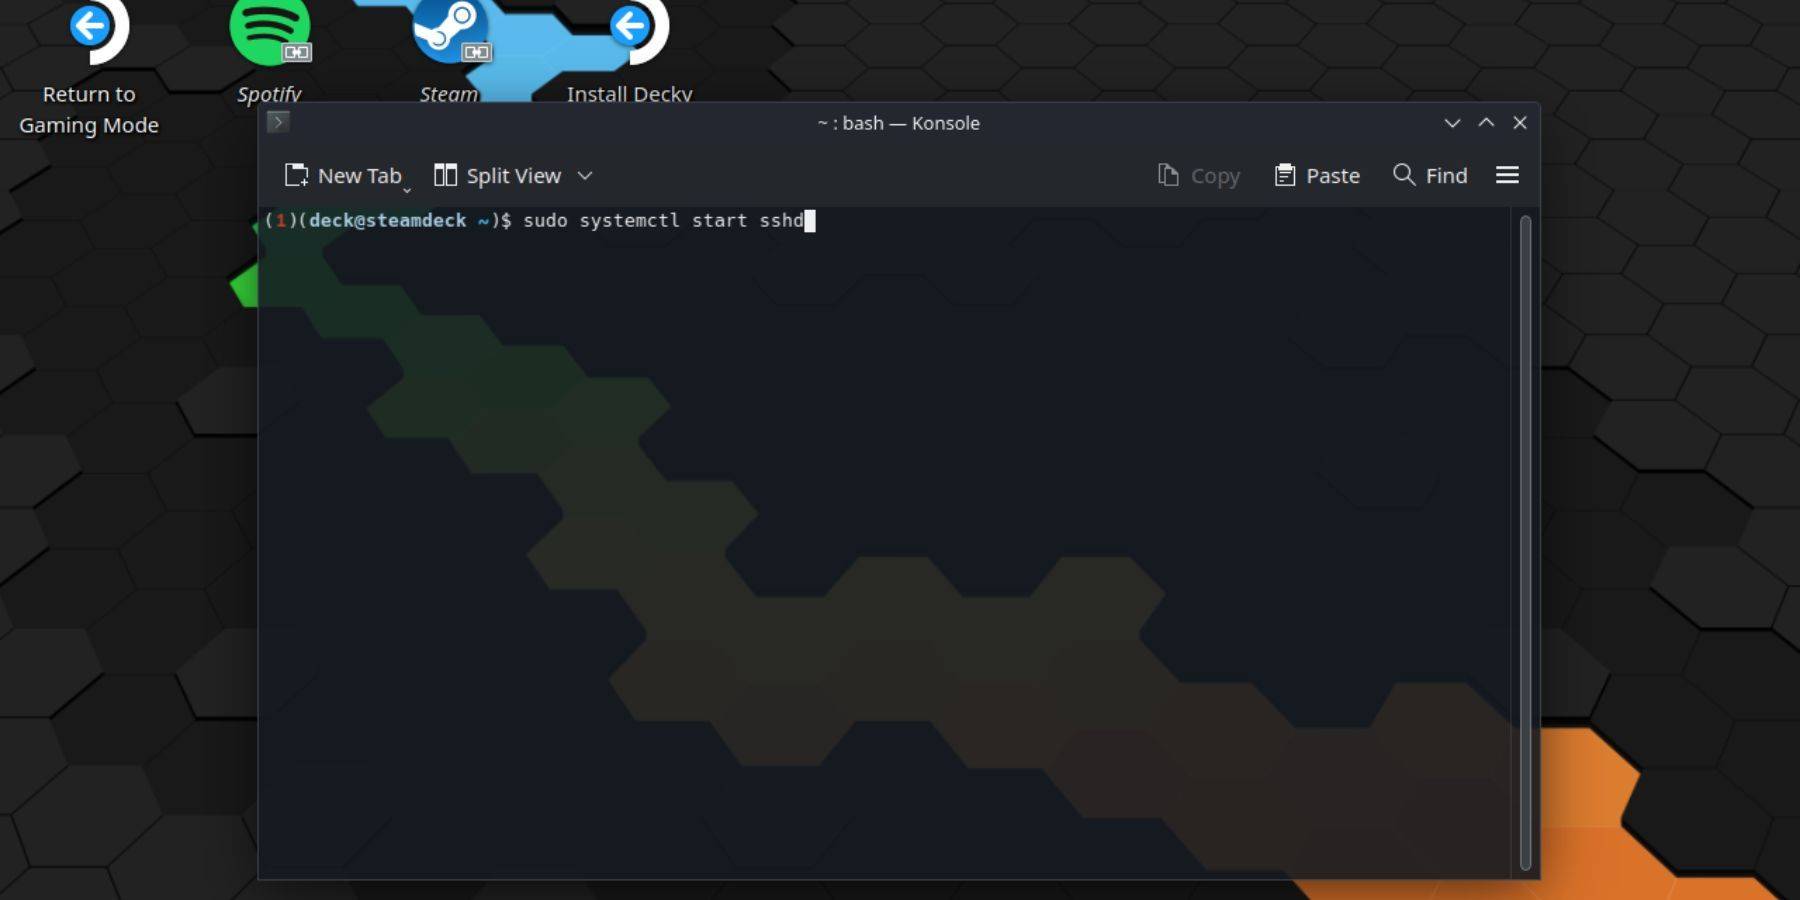
Power > Switch to Desktop Mode. - Open Konsole from the Start menu.
- Set a password (if you haven't already) using the command:
passwd. - Enable SSH using the command:
sudo systemctl start sshd. - To ensure SSH starts automatically after a reboot, use the command:
sudo systemctl enable sshd. - You can now access your Steam Deck remotely using a third-party SSH client.
Important: Avoid modifying or deleting system files to prevent OS corruption.
Disabling SSH on Your Steam Deck
To disable SSH:
- Open Konsole from the Start menu.
- Use
sudo systemctl disable sshdto prevent SSH from starting automatically on reboot, orsudo systemctl stop sshdto immediately stop the SSH service.
Connecting to Your Steam Deck via SSH
 After enabling SSH, use a third-party application like Warpinator for easy file transfer. Install Warpinator on both your Steam Deck and your PC, then launch it on both devices simultaneously for simple drag-and-drop file transfer.
Alternatively, if you're using a Linux PC, open your file manager and enter sftp://deck@steamdeck in the address bar. You'll be prompted for the password you set earlier.


-
1

Apex Legends keeps falling down in concurrent player count
Dec 30,2024
-
2

Roblox King Legacy: December 2024 Codes (Updated)
Dec 24,2024
-
3

Roblox: Get Exclusive "Squid Game" Season 2 Codes for Epic Rewards
Feb 20,2025
-
4

Alien: Romulus 'Fixed' Terrible Ian Holm CGI for Home Release but Fans Still Think It’s Pretty Bad
Mar 03,2025
-
5

Sakamoto Puzzle Unravels in Japan
Jan 27,2025
-
6

Call Of Duty: Black Ops 6 Beta Testing Dates Confirmed
Jan 05,2025
-
7

Metaphor: ReFantazio Releases New Update for January 2025
Feb 20,2025
-
8

Roblox: Notoriety Codes (January 2025)
Jan 17,2025
-
9

Marvel Rivals Debuts Midtown Map Update
Feb 02,2025
-
10

Anime Auto Chess: January 2025 Trait Tier List Update
Mar 13,2025
-
Download

Magnet Hero
Action / 45.6 MB
Update: Feb 11,2025
-
Download

Bulma Adventure 2
Casual / 57.55M
Update: Mar 09,2024
-
Download

Rusting Souls
Role Playing / 82.00M
Update: Dec 11,2024
-
4
Raising Gang-Girls:Torment Mob
-
5
Love and Deepspace Mod
-
6
Learning Color Shapes for kids
-
7
Brawl Box Stars Simulator
-
8
Karate King Kung Fu Fight Game
-
9
VRNOID demo(Meta Quest)
-
10
ALLBLACK Ch.1